Have you just run a gleaning day?
Help us keep the Gleaning Network records up to date by filling out the form in the link below!
Record My Glean
Gleaning is a fun day out for all, for a worthy cause. However, it is important to be mindful of a few factors regarding health and safety. By familiarising yourself with a few simple simple procedures, you will be able to prevent and minimise the risk of incidents and accidents, and ensure the safety of your volunteers.
Head to Chapter 11 for the printable health and safety checklist
In order to be part of the Gleaning Network, we ask for your group to have the following things in place:
As you will be responsible for volunteers, we highly recommend having public liability insurance. When purchasing insurance, make sure to check the following:
An example of our general risk assessment can be found here. These need to be done for each gleaning day to minimise the risks. Please feel free to use our template, but you will need to create your own.
You will need to have at least one person who is First Aid trained attending the gleaning day. We recommend the one day level 2 first aid qualification ‘Emergency First Aid at work’
If anyone on your glean has an accident or injury, no matter how small, it is important to log and record the injury. Below is an example.

If the farmer is present, as if they are able to guide the volunteers on how to harvest and transport the produce.
On the day, gather your volunteers and run through a safety briefing, including the points covered below.
Make sure to demonstrate how to correctly and safely harvest the produce, an improper techniques can be unsafe and/or lead to injury. Check with the farmer if there are any areas of the land that need to be avoided.
You may be surrounded by various pieces of potentially dangerous equipment when in the fields harvesting the surplus produce. Most health and safety procedures are common sense but make sure to highlight the potential hazards on the farm, to make your volunteers aware.
There is likely to be a lot of lifting of crates throughout the day. Make yourself aware of the correct way to carry heavy equipment and demonstrate this during your health and safety briefing.
Some produce (like top fruit) may require the use of ladders. Ensure there is always one person standing at the base of the ladder and that the feet of the ladder are on secure ground. Again, make sure to demonstrate this in the briefing.
Advise volunteers to wear appropriate clothing: Hardy shoes, or wellies, warm and waterproof clothing, and something they don’t mind getting dirty.
Just in case somebody is taken seriously ill or injured, it’s important to know the details of the nearest hospital.

Some produce may require knives to harvest – for instance, cabbages and cauliflower. Children under 18 will not be able to attend a gleaning day where harvesting knives will be used. All volunteers using harvesting knives are required to wear cut-resistant safety gloves.
The number 1 priority for ensuring health and safety is:
Ensure all volunteers using knives are wearing cut-resistant safety gloves (on both hands).
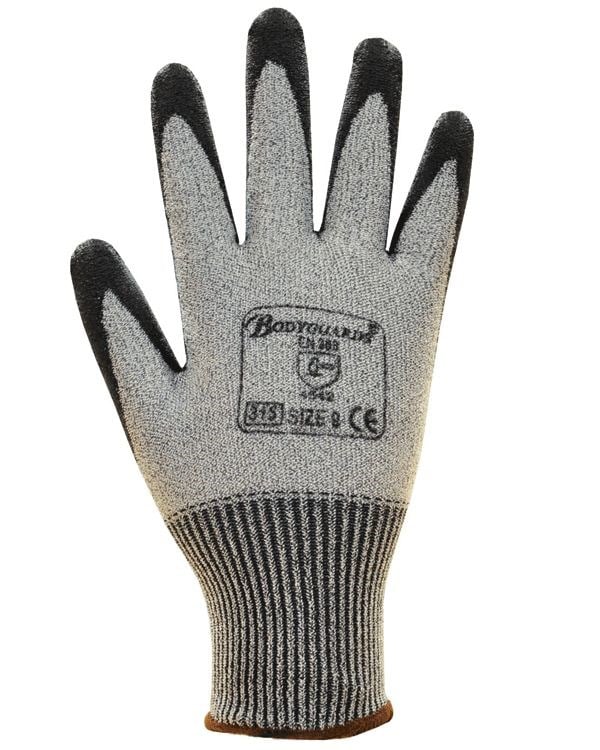
The knives are very sharp, and 84% of injuries from knives reported to HSE are to the hands or fingers.
If you do not have enough cut-resistant gloves for all volunteers, then those volunteers without gloves should not use the harvesting knives—instead, allocate them jobs like putting the vegetables into crates and moving the crates to the vehicle.
Any accidents that happen, no matter how minor, need to be logged at the end of the day.
Ensure that your first aid kit is easy to access at the side of the field in case of accidents.
Key points you need to communicate:

Help us keep the Gleaning Network records up to date by filling out the form in the link below!
Record My Glean